
4 Instant Pot recipes from mom who credits kitchen tool for 125-pound weight loss
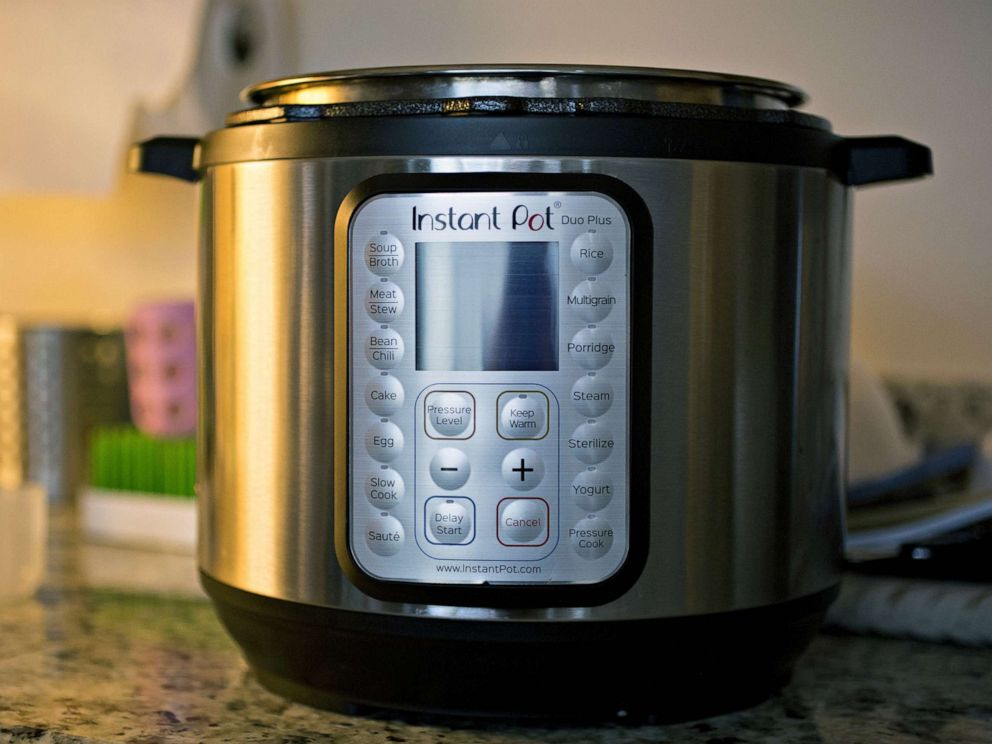
07/18/2019The Instant Pot, a hybrid of a slow cooker and pressure cooker, will soon be in many more kitchens thanks to a major sale on Amazon’s Prime Days that made it a bestseller.
The kitchen tool is beloved for its convenient and healthy way of cooking, benefits well-known by Brittany Williams, a mother of three who credits the Instant Pot with sparking her 125-pound weight loss.
Williams made a New Year’s resolution around three years ago to cook all of her family’s meals for one year in an Instant Pot.
She lost nearly 80 pounds that year and has since maintained a 125-pound weight loss.
“It made everything so quick and convenient,” Williams told “Good Morning America” in 2017. “I’m one of those moms who would say, ‘Oh it’s 4:30, what am I going to make for dinner?’ So it fit into my life really easily.”
Williams shares recipes on her website and will release in December a second cookbook titled, “Instant Loss: Eat Real, Lose Weight.”
The California woman is sharing with “GMA” four of her most popular Instant Pot recipes.
Put your Instant Pot, whether it’s new or old, to use with these delicious dishes!
Guilt-free chocolate cake
![]()
Ingredients for the cake:
8oz Cooked Black Beans, rinsed and drained (I make mine in the Instant Pot)
3 Eggs
1/2 tbsp Pure Vanilla Extract
1/4 tsp Salt
3 tbsp Extra Virgin Coconut Oil
1/4 cup Raw Unfiltered Honey
3 tbsp Cacao Powder
1/2 tsp Baking Powder
1/4 tsp Baking Soda
For the glaze:
1/4 cup Dairy Free Chocolate Chips
1/4 tbsp Extra Virgin Coconut Oil
Directions:
Place all of the ingredients for the cake in a high powered blender or a food processor and process until everything is one smooth consistency.
Grease your stainless steel cake pan. I use this one, click here. Add the batter to your pan and place the lid on top. You can also use a Pyrex glass baking dish and cover it with foil to keep the water off the top.
Add 1 cup of water to your Instant Pot. Set your cake pan inside of the pot on top of the trivet. Using the display panel program your pot using the MANUAL setting, +/-, to 45 minutes.
When the time is up quickly release the pressure. While you wait, make the glaze by microwaving the coconut oil and dairy free chocolate chips for 45 seconds. Stir. (Do not skip this step! The glaze makes the cake!)
Wait 5 minutes for the cake to cool, then transfer to a plate and pour glaze over the top. Enjoy!
*Note: To make black beans in your Instant Pot, soak for four hours or over night. Rinse and drain. Place beans in your Instant Pot and barely cover with water. MANUAL for 12 minutes. When the time is up, let the pot naturally release the pressure, about 25 minutes.
Summer pineapple chicken
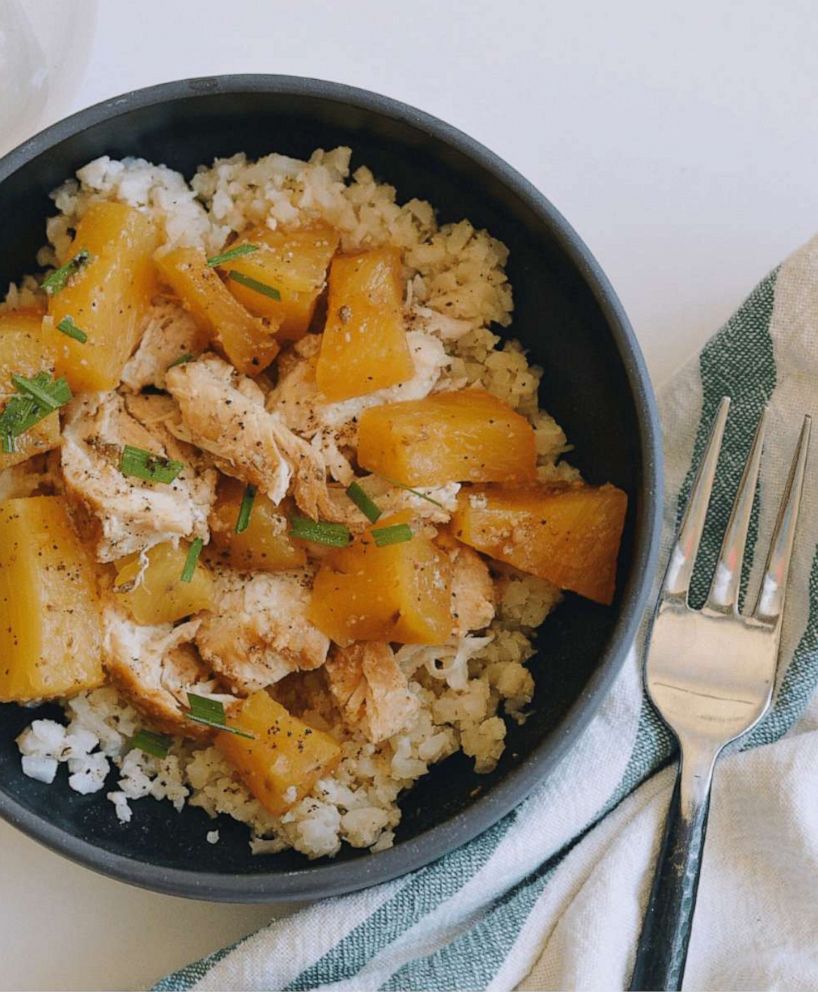
Ingredients:
1 pound boneless skinless chicken breast
2 cups fresh pineapple
1/4 cup coconut aminos or light soy sauce
2 tablespoons water or stock
1 teaspoon garlic powder
1 teaspoon dried minced onion
1/4 teaspoon freshly grated ginger
1/2 teaspoon fine sea salt
1/4 teaspoon finely ground black pepper
For the cauliflower rice
1 tablespoon ghee or butter
4 cups riced cauliflower
1 tablespoon lemon juice
1/4 teaspoon fine sea salt
1/4 teaspoon finely ground black pepper
Directions;
Place the chicken, pineapple, coconut aminos, water, garlic powder, minced onion, ginger, sea salt and black pepper inside of an electric pressure cooker. Place the lid on the cooker and make sure the pressure knob is in the SEALING position.
Using the display panel select the MANUAL/PRESSURE COOK function, high pressure, and use the +/- buttons until the display reads 15 minutes.
While the chicken cooks, preheat a large pan on the stove over medium heat. Add the ghee, cauliflower, lemon juice, sea salt and black pepper to the pan. Cook uncovered for 10 minutes or until the rice had softened and the liquid has evaporated.
When the cooker beeps to let you know it’s finished, let it naturally release the pressure, until the display reads L0:05. Switch the vent valve from the sealing to the venting position. Use caution while the steam escapes — it’s hot.
Remove the chicken from the pot and cut it into strips. Serve the chicken over top the cauliflower rice and drizzle with the pan juices and pineapple.
*Note: Forget to plan ahead? This recipe works wonders with frozen chicken! Take it straight out of the freezer and place it inside of the pot, no need to alter the cook time!
Dairy-free coconut milk yogurt
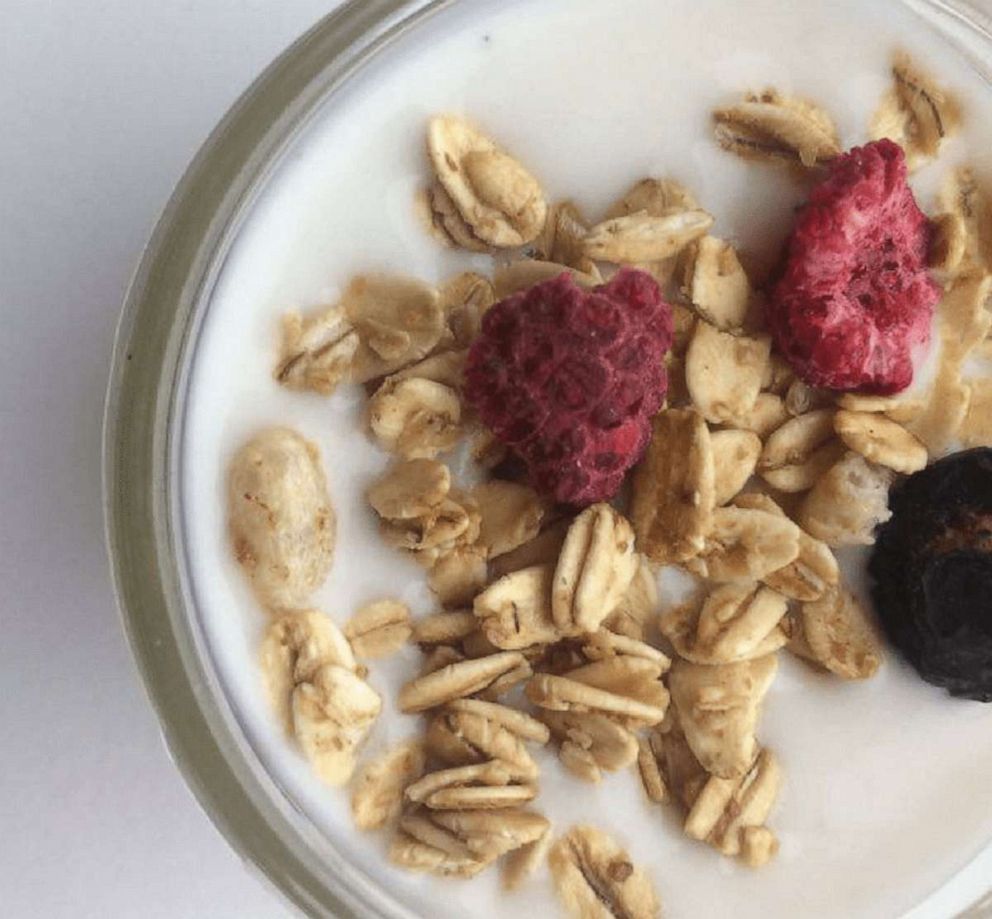
Ingredients:
2 14oz cans Organic Full Fat Coconut Milk
2 tbsp Organic Maple Syrup, do not omit this ingredient. The starter/probiotic needs something to feed on
2 tsp-1 tbsp Gelatin
2 Probiotic Capsules
1 Vanilla bean, optional
Directions:
Add the coconut milk to your Instant Pot and whisk until it’s not clumpy. Using the YOGURT function program pot to BOIL, use the ADJUST button. This is going to warm your milk. It takes about 15 minutes.
When the time is up, use a kitchen thermometer to check the temperature of your milk. It needs to be 180 degrees Fahrenheit in order to kill off any harmful bacteria. Use the SAUTE function, stirring constantly, to heat your milk the rest of the way, if it needs it.
When the milk reaches 180 degrees Fahrenheit, remove the inner liner of your Instant Pot to stop the cooking process. Take 1/3 cup of the hot milk and whisk in the gelatin and maple syrup. Once its combined, add it back to the rest of the milk and stir well to make sure it’s fully incorporated.
Wait until your milk cools to 90-100 degrees Fahrenheit before adding your probiotic or you will kill it. It takes about 20 minutes to cool.
Once cooled, take 1/3 cup of the milk and whisk in your probiotic. You’ll need to open the capsules and dump in the powder. Thoroughly mix the inoculated batch back in with the remainder of the cooled coconut milk.
Add the inner liner back to the Instant Pot shell and select the YOGURT function, NORMAL. Use the ADJUST button and +/- the time to 7-9 hours.The longer you leave it in the pot the more tart your yogurt will be.
When your coconut yogurt is done fermenting it will be a little thicker but still liquid-y, this is because the gelatin is what thickens it, gelatin requires cool temperatures to thicken. This is where I add any flavorings. I like to scrape out a vanilla bean and add it to the yogurt but that is totally optional!
Add your yogurt to a container and refrigerate over night. In the morning you will have delicious creamy yogurt! If you’d like it to be even thicker you can strain it through a nut milk bag after you refrigerate it and use the coconut water that separates from it in your smoothies.
*Note: The amount of gelatin you use dictates the thickness of your yogurt. If you like thinner yogurt use 2 tsp, if you like a thicker Greek Yogurt style yogurt use 1 tbsp.
Cookie dough hummus
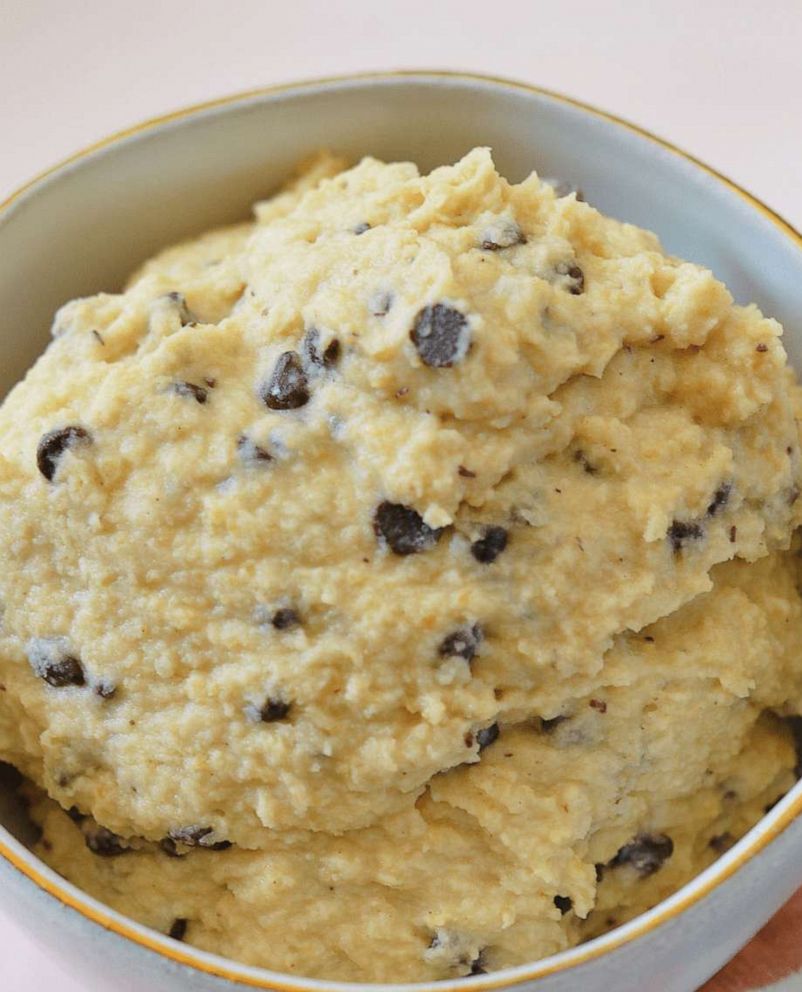
Ingredients:
1 cup canned or cooked chickpeas, rinsed and drained
2 tablespoons tahini
2 tablespoons 100% pure maple syrup
1 teaspoon pure vanilla extract
1/4 teaspoon fine ground sea salt, if the chickpeas have no salt added
1/4 cup dairy-free chocolate chips
Directions:
To make chickpeas inside of your Instant Pot, begin by placing 1 pound of chickpeas inside a large bowl.
Fill the bowl with water and let the chickpeas soak for 8 hours or overnight.
Rinse and drain the chickpeas before adding them to your Instant Pot Pressure Cooker.
Barely cover the chickpeas with water, it’s okay if a pea or two is peaking out above the water line. Close and lock the lid, making sure the vent valve is in the sealing position.
Using the display panel select the manual/pressure cook function and use the +/- buttons until the pot says 25 minutes.
When the cooker beeps to let you know it’s finished let it naturally release the pressure, about 30 minutes. When straining the chickpeas, keep the goopy liquid that remains. The liquid is called aquafaba and it is an excellent egg replacer!
Rinse you chickpeas and use in any recipe that calls for cooked or canned chickpeas!
Place the chickpeas, tahini, maple syrup, vanilla extract and sea salt inside of a blender or a food processor and blend on high until smooth.
Stir in the dairy free chocolate chips and serve. Store covered, inside of the refrigerator for up to five days.
Recipes reprinted with permission courtesy Brittany Williams and InstantLoss.com.
Source: Read Full Article

